
Over the years, the one hairstyle I have come to master is curling. I have been asked by many friends to do their hair for a night out, dates, special events, or just for fun. What’s most flattering is when I’ve been asked to teach someone how to curl their hair properly. Now to anyone else who may be interested in learning, I can teach you too. My beautiful and wonderful friend allowed me to use her as my model for this tutorial. Thanks Stace!

The first thing is picking the right barrel for your hair type and length, as well as for the look you want to achieve. In terms of what type of iron to invest in, defining your hair type is your first step. If you’ve got thin and/or shorter hair, I like to use an iron with a barrel of .75-1.5 inches. If you’ve got thicker and/or longer hair, I suggest using an iron with a barrel of 1-2 inches. Once you’ve figured out your hair type, deciding what look you want to create will determine the exact barrel size you need. If you want to create loose curls or that “beachy” wave look, select a wider barrel. If you want smaller, tighter “Goldilocks” like ringlets, pick a smaller barrel size. Once you’ve decided the curl you want, here are 10 steps to perfecting the style:
- Before prepping, turn on the curling iron and heat it to anywhere between 200-300 degrees for fine hair and 300-400 degrees for thicker hair. You’ll soon learn which temperature works best for your hair.
- Brush your hair thoroughly. Make sure there are no tangles or risk kinks in the curl or getting your hair caught in the rod. Your hair should be completely dry before you curl it. If it’s still wet, blow dry strands.
- Part your hair and tie up two-thirds of your hair into a ponytail, leaving the bottom third layer out.
- Apply a heat protectant to your hair. I tend to use Beauty Protector Protect & Detangle; it’s one of my personal favorites. It smells great and prevents damage from heat tools.
- Take a small section of hair, closest to the jaw line. If your iron has a clamp, clamp hair at the middle and roll down and away from face until the hair is completely around the barrel. I start at the middle because it holds the curl longer as opposed to starting from the bottom, which causes curls to fall out faster. If you are working with a clamp-less iron, wrap the section around the barrel. Leave the curling iron there for about 10 – 15 seconds or touch the hair to feel for warmth. Then loosen the grip and pull the curling iron down to the end of your hair.
- Grab another small section of hair, next to the piece just curled. Clamp or wrap the hair at the middle, but this time roll down and towards the face until the hair is completely around the barrel. Curling in the same direction causes hair to clump into one big ringlet, by changing directions you allow for more flow. Leave the curling iron there for about 10 – 15 seconds or touch the hair to feel for warmth.
- Alternate directions for the remaining section of hair. I like to curl the front two sections closest to the facial frame away from my face.
- Spray a thin layer of hairspray into the curls; this helps them hold their shape. Do not over-spray, as this will make your hair crispy and weigh it down. I am a personal fan of TRESemme’s Tres Two Extra Hold Hairspray.
- Now take another third out of the ponytail and repeat steps 4-8.
- Let down the final section, part your hair however you like and repeat the steps 4-8. For the strands that envelop the front of the face, I like to take a few strands and have the layers flow into one another to create a Farrah Fawcett-esque look, meaning have the curls turn away from my face.
Tip: To give the curls a more natural look, run your fingers thru your hair gently and mist the hair all over. To add shine, add Kérastase Elixir Ultime (or a brand of your choosing). Et voila, 10 steps to chic-looking hair!
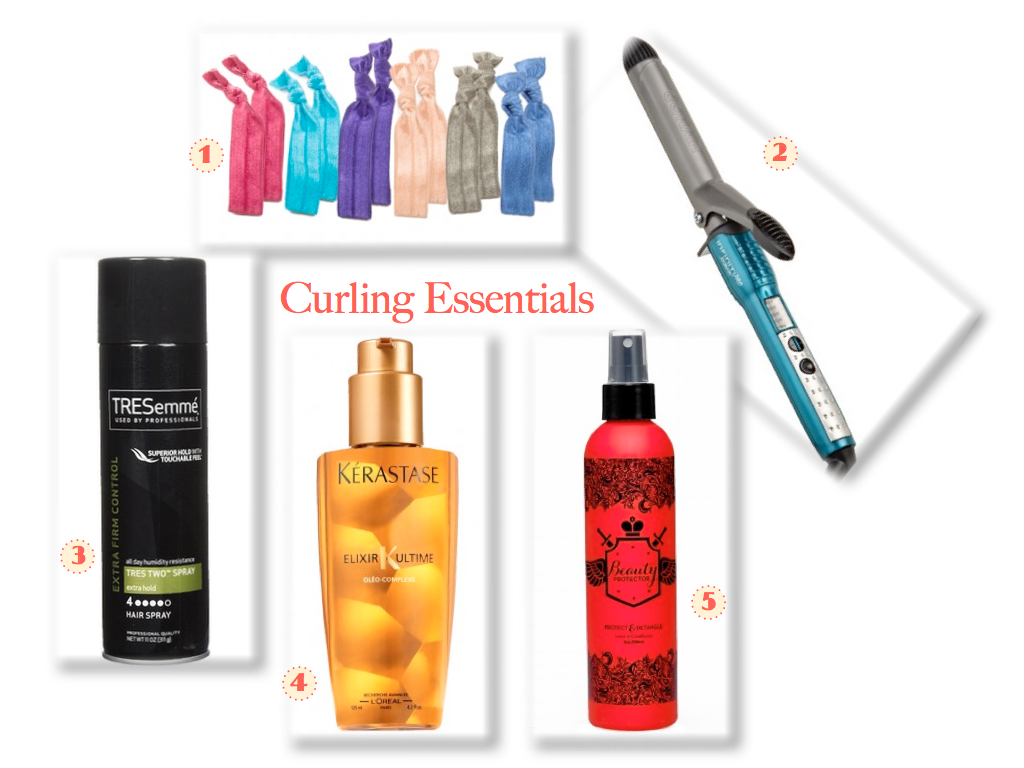
(1) twistband Hair Tie 12-pack, (2) Conair Infiniti Professional Tourmaline Ceramic Curling Iron, (3) TRESemme Tres Two Extra Hold Hairspray, (4) Kérastase Elixir Ultime, (5) Beauty Protector Protect & Detangle
